
1. The Classic Cat Eye Nail Design
Choosing the right base color
When it comes to the classic cat-eye nail design, picking the perfect base color is key. I've found that deep, rich hues like navy blue, emerald green, or burgundy really make the cat-eye effect pop. But don't be afraid to experiment! A soft pastel or even a neutral shade can create a more subtle, everyday look.
Applying the magnetic polish
Here's where the magic happens! Apply a thin coat of your chosen magnetic polish. Make sure it's even, but don't worry too much about perfection - the magnetic effect will be the star of the show. I remember the first time I tried this; I was so nervous about getting it right, but it turned out to be easier than I thought!
Perfecting the cat-eye effect
Now for the fun part! Hold the magnet close to your nail (but don't let it touch) for about 10-15 seconds. You'll see the polish start to move and create that mesmerizing cat-eye effect. I like to move the magnet slightly to create different patterns. It's like painting with magnets—so cool!
2. Glittery Cat Eye Nails
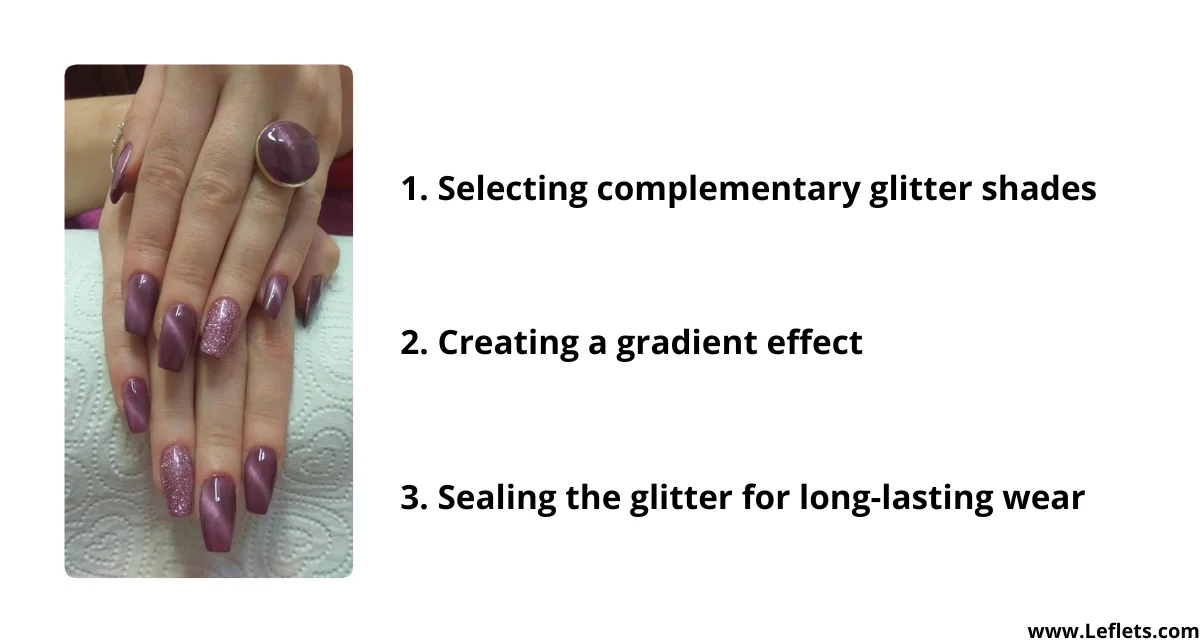
Selecting complementary glitter shades
Glitter and cat eye polish are a match made in nail heaven! I love choosing a glitter that complements the base color of the cat eye polish. For example, if I'm using a deep blue cat eye, I might go for a silver or light blue glitter. The contrast is just gorgeous.
Creating a gradient effect
To create a stunning gradient, I start by applying the cat-eye polish as usual. Then, I use a makeup sponge to dab on the glitter, starting at the tip and working my way down. It creates this beautiful fade effect that catches the light in all the right ways.
Sealing the glitter for long-lasting wear
Nobody wants glitter falling off their nails! I always make sure to seal my glittery cat-eye nails with a good top coat. Sometimes I even do two layers just to be safe. It keeps everything in place and adds extra shine.
3. Holographic Cat Eye Nails
Understanding holographic pigments
Holographic pigments are like magic dust for your nails. They create this amazing rainbow effect that shifts as you move your hands. When combined with cat eye polish, it's like having tiny galaxies on your fingertips!
Applying holographic cat-eye polish
Applying holographic cat eye polish is similar to regular cat eye polish, but I find it looks best with a dark base coat underneath. It really makes the holographic effect stand out. Just remember to work quickly - these polishes tend to dry faster than regular ones.
Enhancing the 3D effect
To really make the 3D effect pop, I like to play around with the magnet. Try holding it at different angles to create unique patterns. Sometimes I even use two different magnets for a more complex look. It's all about experimenting and having fun!
4. Matte Cat Eye Nails
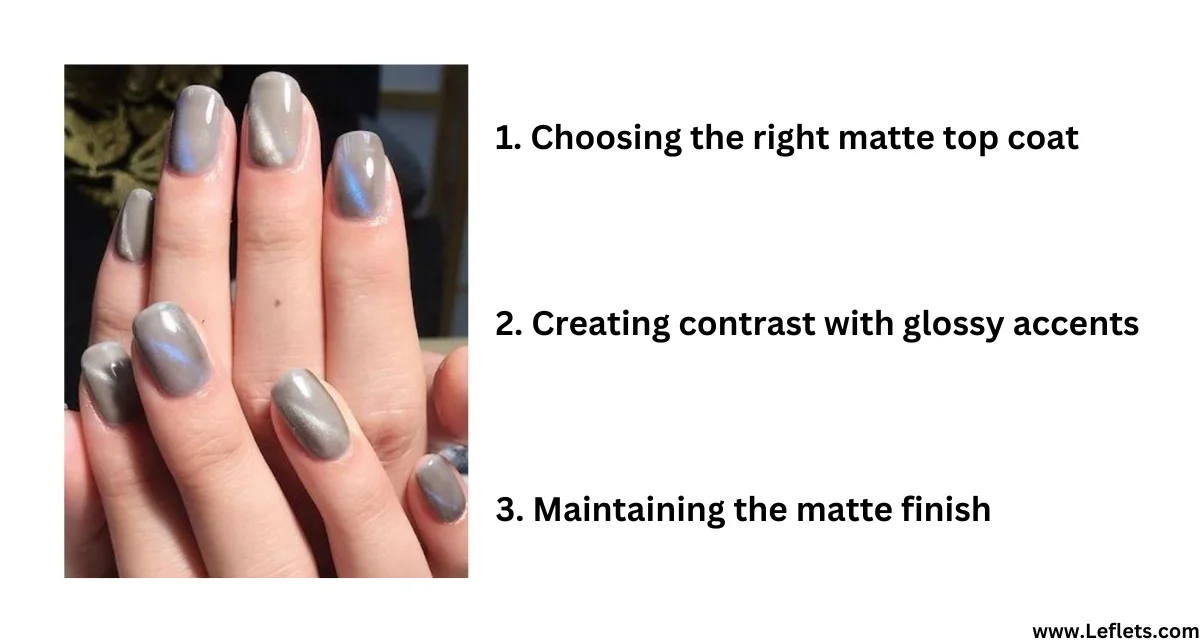
Choosing the right matte top coat
Not all matte top coats are created equal! I learned this the hard way when I first tried matte cat eye nails. Look for a high-quality matte top coat that won't dull the cat eye effect. Some of my favorites are from OPI and Essie.
Creating contrast with glossy accents
Here's a fun trick: try leaving small sections of your nail glossy while the rest is matte. It creates this amazing contrast that really highlights the cat eye effect. I love doing this on my ring finger as an accent nail.
Maintaining the matte finish
Matte nails can be a bit high-maintenance, but they're so worth it! To keep them looking fresh, I avoid using hand creams or oils near my nails. If they start to look a bit shiny, a quick swipe with a lint-free cloth usually does the trick.
5. Ombre Cat Eye Nails
Selecting colors for a seamless blend
For ombre cat eye nails, I like to choose colors that are in the same family but different shades. For example, a light pink fading into a deep magenta. The cat eye effect adds depth to the ombre, making it look even more dimensional.
Mastering the ombre technique
Creating an ombre effect with cat eye polish takes a bit of practice, but it's so rewarding! I apply the lighter shade to the whole nail, then use a makeup sponge to dab on the darker shade at the tip. Blend, blend, blend until you get a smooth transition.
Incorporating the cat-eye effect
Once you've got your ombre base, use the magnet to create the cat-eye effect. I find it looks best when you focus the magnetic effect on the darker part of the ombre. It creates this cool illusion of depth that's really eye-catching.
6. French Tip Cat Eye Nails
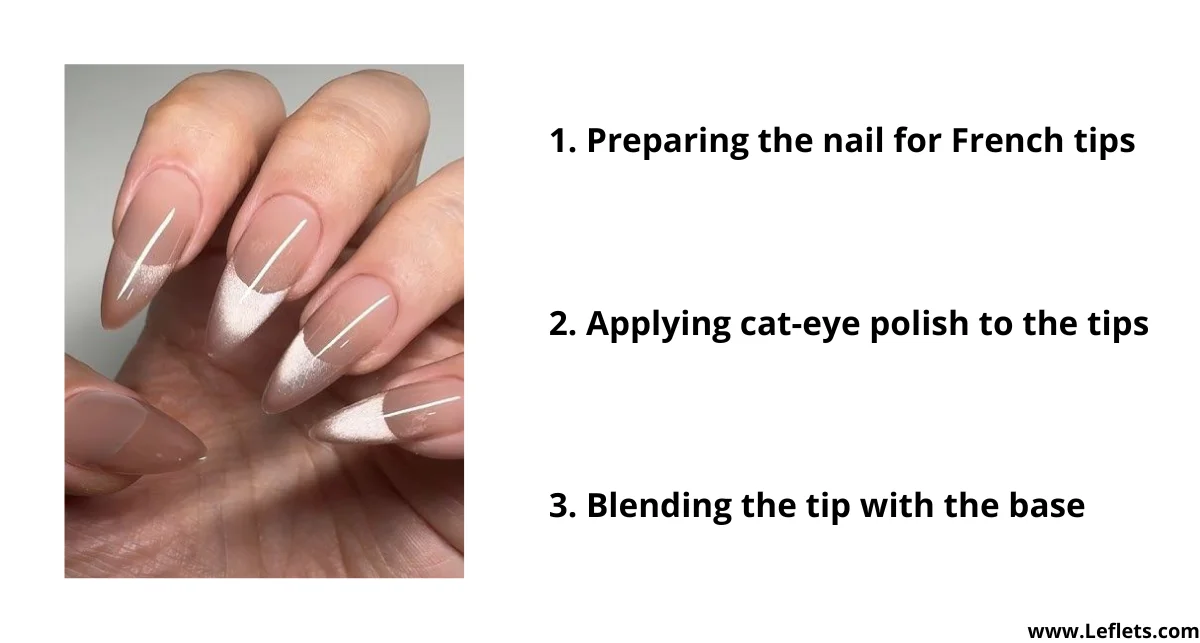
Preparing the nail for French tips
For French tip cat eye nails, I always start with a good base coat. Then, I apply a neutral shade to the whole nail. This creates a clean canvas for the cat eye French tip.
Applying cat-eye polish to the tips
Using a thin brush, I carefully apply the cat eye polish to the tips of my nails. Don't worry if it's not perfect - the magnetic effect will be the focus anyway. I like to make my French tips a bit thicker than traditional ones to really showcase the cat eye effect.
Blending the tip with the base
To create a seamless look, I use the magnet to pull some of the cat-eye polish down into the base color. It creates this beautiful, subtle gradient effect that's so elegant and unique.
7. Negative Space Cat Eye Nails
Planning your negative space design
Negative space designs are all about creativity! I love sketching out my ideas before I start painting. Simple geometric shapes often work best with cat eye polish - think triangles, half-moons, or even just a diagonal line across the nail.
Using tape for clean lines
Here's a pro tip: use thin nail tape to create crisp, clean lines for your negative space design. Apply the tape where you want the bare nail to show through, then paint over it with your cat eye polish. When you remove the tape, you'll have perfect edges!
Filling in with cat eye polish
Once you've created your negative space design, fill in the rest of the nail with cat eye polish. Use the magnet to create patterns that complement your negative space shapes. I once did a moon-inspired design with crescent-shaped negative space—it looked out of this world!
8. Marble Cat Eye Nails
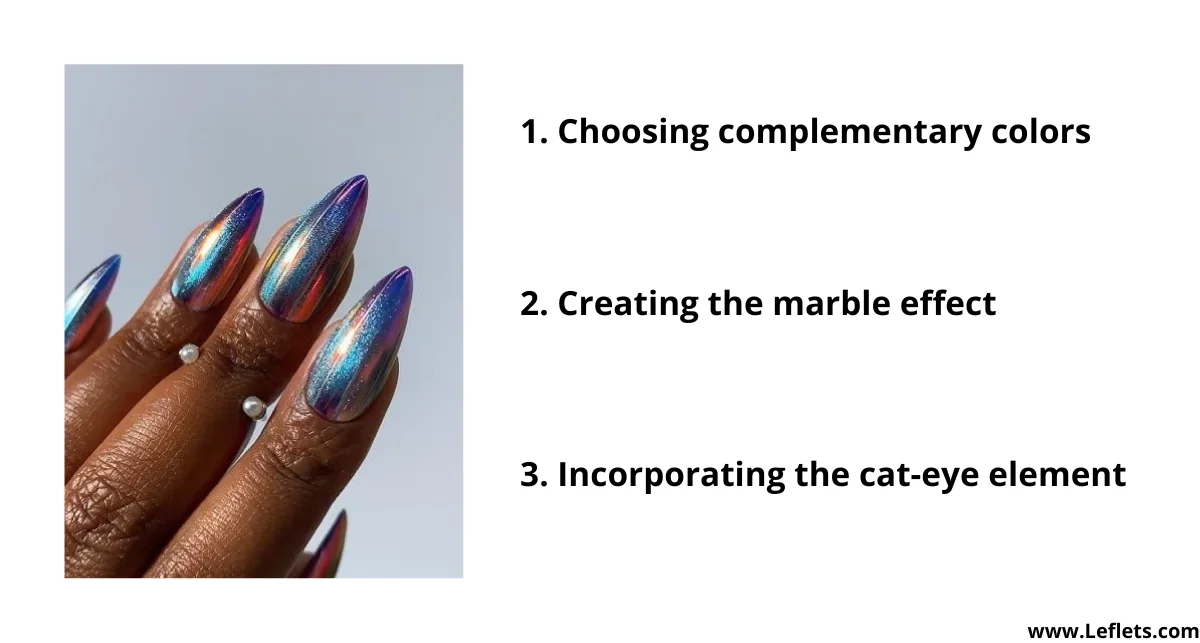
Choosing complementary colors
For marble cat eye nails, I like to choose two or three colors that work well together. A classic combo is black and white with a touch of gold, but don't be afraid to get creative! Pastels can create a beautiful, soft marble effect too.
Creating the marble effect
To create the marble effect, I apply a base coat of one color, then add drops of the other colors while it's still wet. Using a thin brush or toothpick, I swirl the colors together to create that signature marble look. It's like being a mini nail artist!
Incorporating the cat-eye element
Once you've created your marble effect, use the magnet to add the cat-eye element. I find it looks best when you focus the magnetic effect on one color in the marble design. It adds depth and makes the whole look even more intriguing.
For more info: Mastering the Trendy Nail Art Styles: Jelly Acrylic, Ombre Marble, and Cat Eye
9. Geometric Cat Eye Nails
Designing geometric patterns
Geometric patterns and cat eye polish are a match made in nail art heaven! I love creating simple shapes like triangles, squares, or even just straight lines across the nail. The key is to keep it relatively simple - the cat eye effect will add plenty of visual interest.
Using striping tape for precision
Striping tape is my secret weapon for perfect geometric designs. I apply the tape in my chosen pattern, paint over it with cat eye polish, then carefully remove the tape while the polish is still wet. It creates such crisp, clean lines!
Combining multiple cat eye colors
Don't be afraid to use multiple cat-eye colors in your geometric design! I once did a design with triangles in different cat-eye shades—it looked like a kaleidoscope on my nails. Just remember to use the magnet on each color separately for the best effect.
10. Seasonal Cat Eye Nails
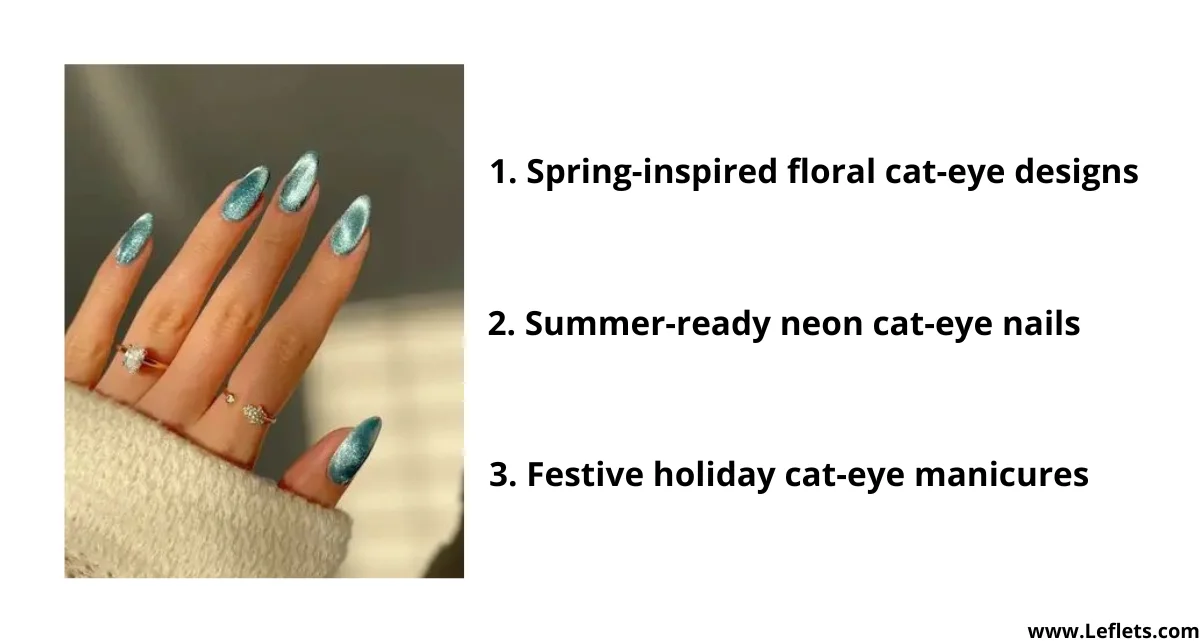
Spring-inspired floral cat-eye designs
For spring, I love creating delicate floral designs with cat eye polish. A soft pink or lavender base with white cat eye flowers is so pretty and perfect for the season. The cat eye effect gives the flowers a beautiful, shimmering quality.
Summer-ready neon cat-eye nails
Summer calls for bright, bold colors! I like to use neon cat eye polishes for a fun, tropical vibe. Try a bright blue or green base with yellow cat eye accents - it's like having a little slice of summer on your nails.
Festive holiday cat-eye manicures
For the holiday season, nothing beats a deep red or green cat-eye manicure. I love adding little gold or silver accents for extra festive flair. One year, I did a candy cane-inspired design with red and white cat-eye stripes—it was a hit at all the holiday parties!
Summary
Cat-eye nail designs offer endless possibilities for creative and eye-catching manicures. From classic looks to seasonal designs, there's a cat-eye style for every occasion and personal taste. Remember, practice makes perfect, so don't be discouraged if your first attempts aren't salon-worthy. With a little patience and experimentation, you'll be creating mesmerizing cat-eye nail art in no time!
FAQs: 10 Stunning Cat Eye Nail Designs You Need to Try
How long does a cat-eye nail design typically last?
With a good top coat, cat eye nail designs can last about 1-2 weeks. I find they tend to last a bit longer than regular polish because the magnetic particles make the polish more durable.
Can I create cat eye nails at home, or should I visit a salon?
You can definitely create cat eye nails at home! It might take a bit of practice to get the hang of using the magnet, but it's a fun technique to master. Of course, if you want intricate designs, a salon visit might be worth it.
Are cat eye nail polishes safe for natural nails?
Yes, cat eye nail polishes are generally safe for natural nails. They're similar to regular nail polish, just with added magnetic particles. As always, make sure to use a good base coat to protect your nails.
How do I remove cat eye nail polish?
Cat eye nail polish can be removed just like regular polish. I usually use an acetone-based nail polish remover and a cotton pad. Some stubborn glitters might need a bit more soaking, but it's nothing too difficult.
Can I combine cat eye polish with regular nail polish?
Absolutely! I love combining cat-eye polish with regular polish for unique designs. Just remember that only the cat-eye polish will react to the magnet, so plan your design accordingly.
***
More relevant blogs:
Nail Art Masterpiece: Captivating Color Combinations for a Standout Style
Move Over, French Tips: Gingerbread Nails Are the New Holiday Classic
***
Follow us on - Website | Facebook | Instagram | Threads | Twitter | Pinterest | Medium | HackerNews |