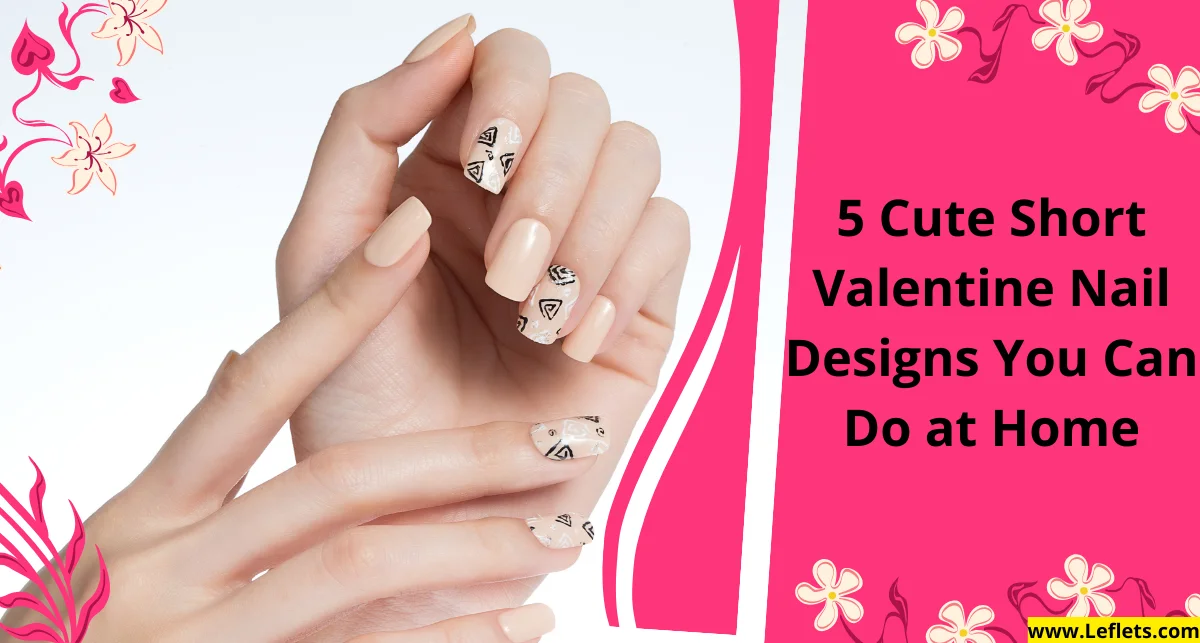
Valentine's Day is just around the corner, and what better way to show your festive spirit than with adorable nail art? Nail designs have become an essential part of holiday celebrations, allowing us to express our creativity and spread joy through our fingertips. It's a fun and personal way to get into the Valentine's mood!
Benefits of creating nail designs at home
Doing your own nail art at home has so many perks! Not only is it budget-friendly, but it's also a great way to relax and have some me-time. Plus, you can experiment with different designs without feeling rushed or pressured. I love putting on my favorite rom-com and spending an evening creating cute nail art – it's so therapeutic!
Essential tools and materials for DIY nail art
Before we dive into the designs, let's talk about what you'll need. Don't worry, you don't need a professional kit to create stunning nails! Here's a simple list to get you started:
- Base coat and top coat
- Nail polishes in Valentine's colors (reds, pinks, whites)
- Thin brushes or toothpicks for details
- Dotting tools (or bobby pins as a DIY alternative)
- Nail art tape or stickers
- A small makeup sponge for gradients
- Glitter (optional, but fun!)
With these basics, you'll be ready to create some Valentine's magic on your nails!
1. Heart-Themed Nail Designs
Simple red and pink heart patterns
Let's start with a classic—hearts! You can't go wrong with red and pink hearts for Valentine's Day. Here's an easy way to do it:
- Paint your nails with a light pink base.
- Once dry, use a dotting tool to make two red dots close together.
- Drag the dots downward to form a heart shape.
- Repeat on different nails for a cute, scattered heart effect.
This design is perfect if you're short on time but still want to look festive!
Gradient heart design using sponge technique
Gradient nails are so pretty, and they're not as hard as they look. Here's how to create a lovely Valentine's gradient with a heart accent:
- Paint all nails white as a base.
- Using a makeup sponge, dab on stripes of white, light pink, and dark pink polish.
- Gently press the sponge onto your nail, rolling slightly to blend colors.
- Repeat until you achieve the desired gradient effect.
- On one nail, use a thin brush to paint a heart shape with the darkest pink.
Negative space heart art
Negative space designs are trendy and look super chic. Here's a simple heart design using this technique:
- Apply base coat to clean nails.
- Cut small heart shapes from tape and place them on your nails.
- Paint over the entire nail with your chosen color.
- Carefully remove the tape while the polish is still wet.
- Seal with top coat once dry.
This creates a sleek, modern look that's perfect for Valentine's Day and beyond!
2. Glitter and Sparkle Designs
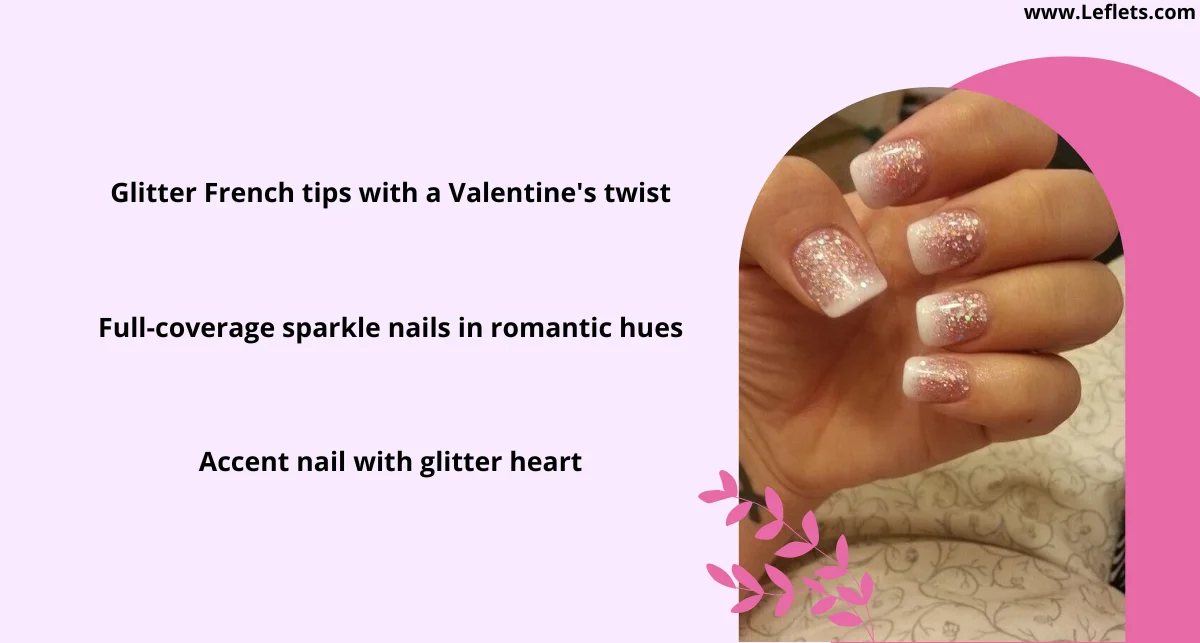
Glitter French tips with a Valentine's twist
Who doesn't love a bit of sparkle? Let's add some glitz to the classic French manicure:
- Paint your nails with a nude or pale pink base.
- Using a thin brush, create a curved line at the tip with red glitter polish.
- Add a small heart at the base of each nail using the same glitter.
- Seal with a top coat for extra shine and longevity.
This design is subtle enough for the office but festive enough for your Valentine's date!
Full-coverage sparkle nails in romantic hues
Sometimes, you just want to go all out with the glitter. Here's how to create a dazzling Valentine's look:
- Apply a base coat to protect your nails.
- Paint your nails with a sheer pink polish.
- While still wet, dip your nails in a pot of fine pink or red glitter.
- Gently tap off excess and let dry.
- Seal with 1-2 coats of topcoat for a smooth finish.
This glamorous look is perfect for a night out or when you're feeling extra festive!
Accent nail with glitter heart
An accent nail is a great way to add interest to your manicure. Try this cute glitter heart:
- Paint all nails except one in your favorite Valentine's shade.
- On the accent nail, apply a clear base.
- Use a thin brush to draw a heart outline with glitter polish.
- Fill in the heart with the same glitter.
- Add a top coat to smooth everything out.
This design is sweet, simple, and oh-so-Valentine's!
3. Romantic Floral Nail Art
Minimalist rose design
Roses and Valentine's Day go hand in hand. Here's an easy way to add a touch of floral to your nails:
- Paint your nails with a light pink or nude base.
- Using a thin brush and red polish, paint a small swirl to form the center of the rose.
- Add curved lines around the swirl to create petals.
- Use a green polish to add a small leaf beside the rose.
- Repeat on one or two nails for a delicate look.
This design is perfect for those who love a subtle, romantic touch.
For more info: 23+ Valentine’s Day Nail Ideas You’ll Totally Fall in Love With
Delicate daisy pattern
Daisies are so cheerful and sweet—perfect for spreading love! Here's how to create a simple daisy design:
- Start with a pale blue or white base.
- Use a dotting tool to create a circle of white dots for petals.
- Add a yellow dot in the center of each flower.
- Paint tiny green stems if desired.
- Seal with a top coat for a lasting finish.
These cute daisies will bring a smile to everyone's face!
Cherry blossom-inspired nails
Cherry blossoms symbolize love and new beginnings—how fitting for Valentine's Day! Try this easy design:
- Paint your nails with a soft pink or light blue base.
- Using a thin brush, create small branches with light brown polish.
- Dot clusters of tiny pink and white flowers along the branches.
- Add small yellow centers to some flowers for detail.
- Finish with a glossy top coat.
This delicate design is like carrying a bit of spring on your fingertips!
4. Love Letter-Inspired Designs
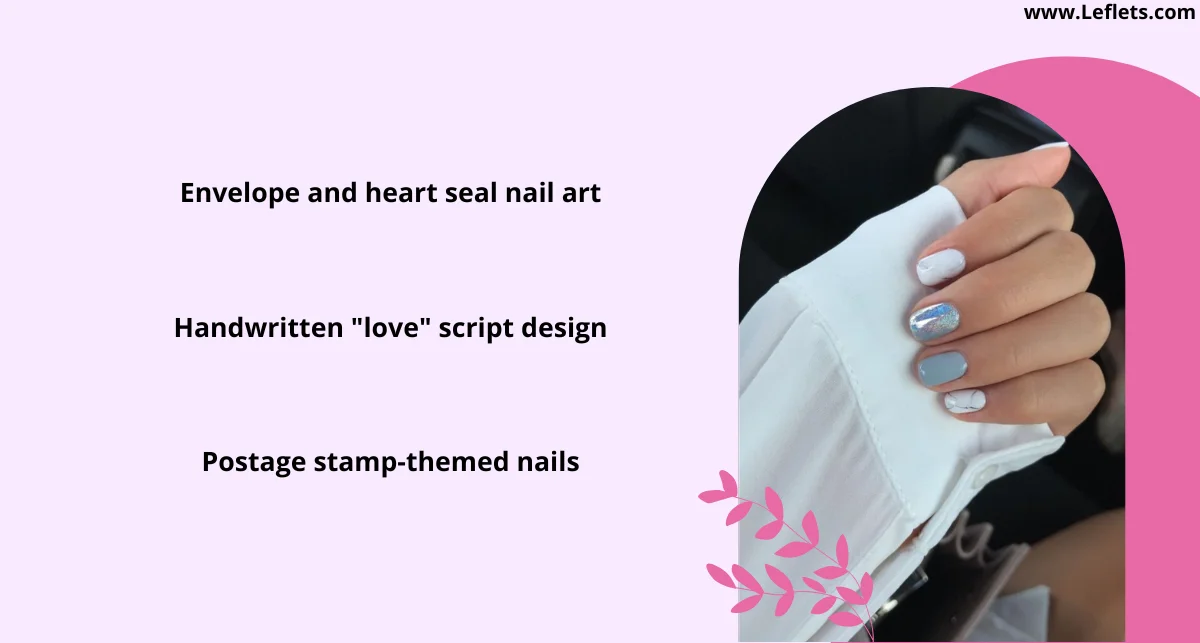
Envelope and heart seal nail art
Nothing says romance like a love letter! Here's a cute way to bring that to your nails:
- Paint your nails white or cream as a base.
- Use a thin brush to draw an envelope shape with light gray polish.
- Add a tiny red heart as the "seal" on the envelope.
- For extra detail, add fine lines to mimic envelope creases.
This design is sure to deliver a message of love!
Handwritten "love" script design
Bring a personal touch to your nails with this handwritten-style design:
- Apply a nude or pale pink base coat.
- Using a very thin brush and black or dark red polish, carefully write "love" on one or two nails.
- Add small hearts or dots around the script for extra flair.
- Seal with a top coat to prevent smudging.
It's like wearing your heart on your... nails!
Postage stamp-themed nails
This quirky design is perfect for long-distance loves or snail mail enthusiasts:
- Paint your nails with a white or off-white base.
- Use thin tape to create a rectangle on one nail.
- Fill in with a pale color and add tiny hearts or flowers.
- Use a thin brush to add "postmark" circles in one corner.
- Remove the tape and add a thin border around the "stamp."
It's a fun way to show your affection is first-class!
5. Sweet Treat Nail Designs
Chocolate-dipped nail look
Who can resist chocolate on Valentine's Day? Certainly not our nails!
- Paint your nails with a neutral base color.
- Using brown polish, create a diagonal "dipped" effect on the tips.
- While the brown is wet, sprinkle on some gold glitter for a luxe touch.
- Seal everything with a glossy top coat.
This design looks good enough to eat (but please don't)!
Candy heart-inspired art
Those iconic conversation hearts make for adorable nail art:
- Paint each nail a different pastel shade.
- Use a thin brush and white polish to draw heart outlines.
- Add tiny letter decals or hand-paint short messages like "XOXO" or "BE MINE."
- Finish with a matte top coat for an authentic candy look.
It's a sweet way to spread loving messages!
C. Cupcake and sprinkles design
For a playful Valentine's look, try this cute cupcake design:
- Paint your nails with a light pink or white base.
- On one nail, use a dotting tool to create a semicircle of white "frosting" at the tip.
- Add a red cherry on top with a thin green stem.
- Use a thin brush to add colorful "sprinkles" across all nails.
This design is perfect for anyone with a sweet tooth!
Tips for Long-Lasting DIY Nail Art
Proper nail preparation techniques
Getting your nails ready is key to long-lasting nail art:
- Gently push back cuticles.
- Lightly buff nail surface.
- Clean nails with nail polish remover to remove oils.
- Always use a base coat to protect nails and help polish adhere.
These steps will help your design stay put much longer!
Sealing and protecting your design
Protecting your hard work is crucial:
- Allow each layer to dry completely before adding the next.
- Seal your design with a good quality top coat.
- Apply the top coat to the edge of your nails to "cap" the design.
- Reapply top coat every couple of days to refresh shine and protection.
With these steps, your Valentine's nails can last well beyond the 14th!
Maintenance and touch-up advice
Even the best nail art might need a little TLC:
- Wear gloves for household chores to protect your nails.
- Moisturize your hands and cuticles daily.
- Carry a small bottle of your base color for quick touch-ups.
- If a design chips, try adding a small heart or dot to cover it up.
With a little care, your Valentine's nails can stay looking fresh and festive!
Conclusion
Recap of the 10 nail design ideas
We've covered so many cute ideas for Valentine's Day nails! From simple hearts to intricate lace patterns, there's something for everyone. Whether you prefer classic red and pink or want to try something more unique like marble effects or novelty designs, these DIY nail art ideas are sure to spread love and joy.
Encouragement for personal creativity
Remember, these are just starting points – feel free to mix and match ideas or come up with your own unique designs. The best part about doing your nails at home is that you can let your creativity shine. Don't be afraid to experiment and have fun with it!
Final thoughts on expressing love through nail art
Nail art is such a fun way to express yourself and get into the Valentine's Day spirit. Whether you're celebrating with a partner, friends, or treating yourself to some self-love, these nail designs are a great way to add a little extra joy to your day. So grab your nail polish and let your fingers do the talking this Valentine's Day!
FAQs
Q1. How long does DIY nail art typically last?
With proper preparation and a good top coat, DIY nail art can last anywhere from 5-7 days. Some designs may start to show wear earlier, especially if you use your hands a lot.
Q2. Can these designs be adapted for longer nails?
Absolutely! Most of these designs can easily be scaled up for longer nails. You might even have more space to add extra details or expand on the patterns.
How can I fix mistakes in my nail art?
For small mistakes, try using a thin brush dipped in nail polish remover to clean up edges. If you mess up a whole nail, it's usually best to remove the polish and start over on that nail.
***
More relevant blogs:
5 Simple Chrome Nail Art Designs for Beginners
10 Reasons Why Almond Nails Are So Popular
***
Follow us on - Website | Facebook | Instagram | Threads | Twitter | Pinterest | Medium | HackerNews |